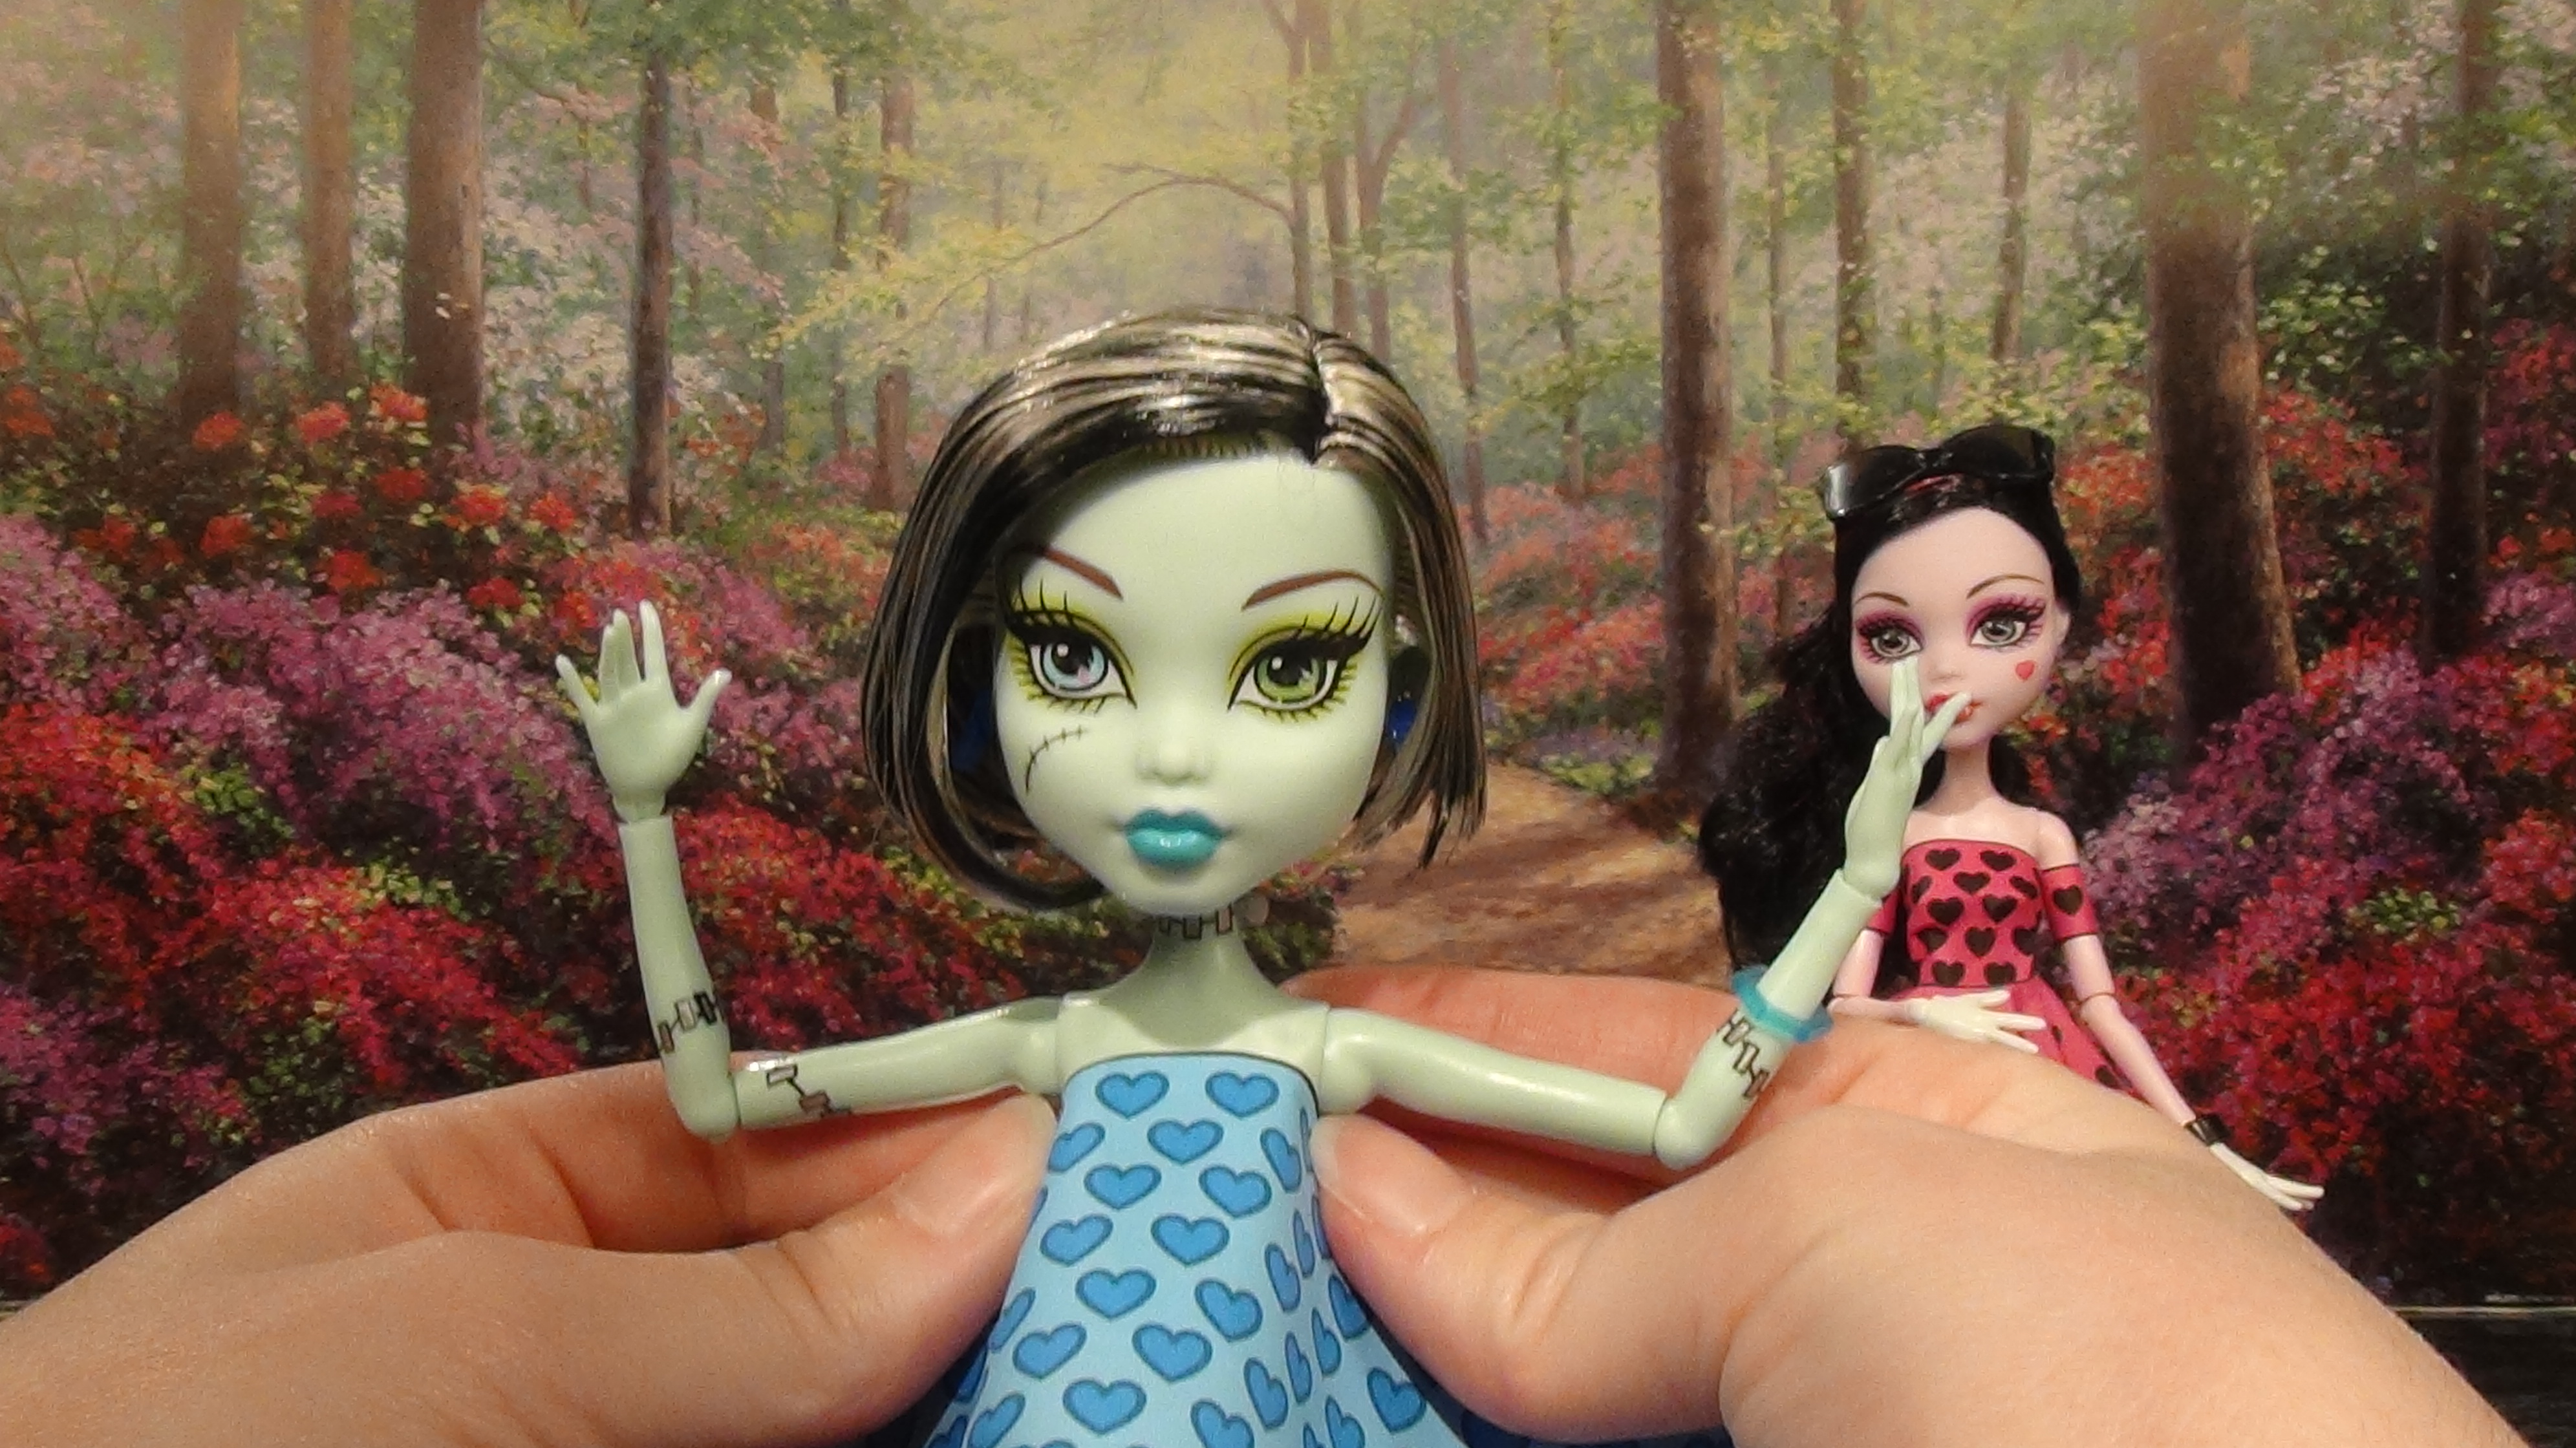
First wrap the top around the doll under her arms. Make sure that the top is smoothly touching the doll and is centered in the front. The lower part of the top should be sticking out.
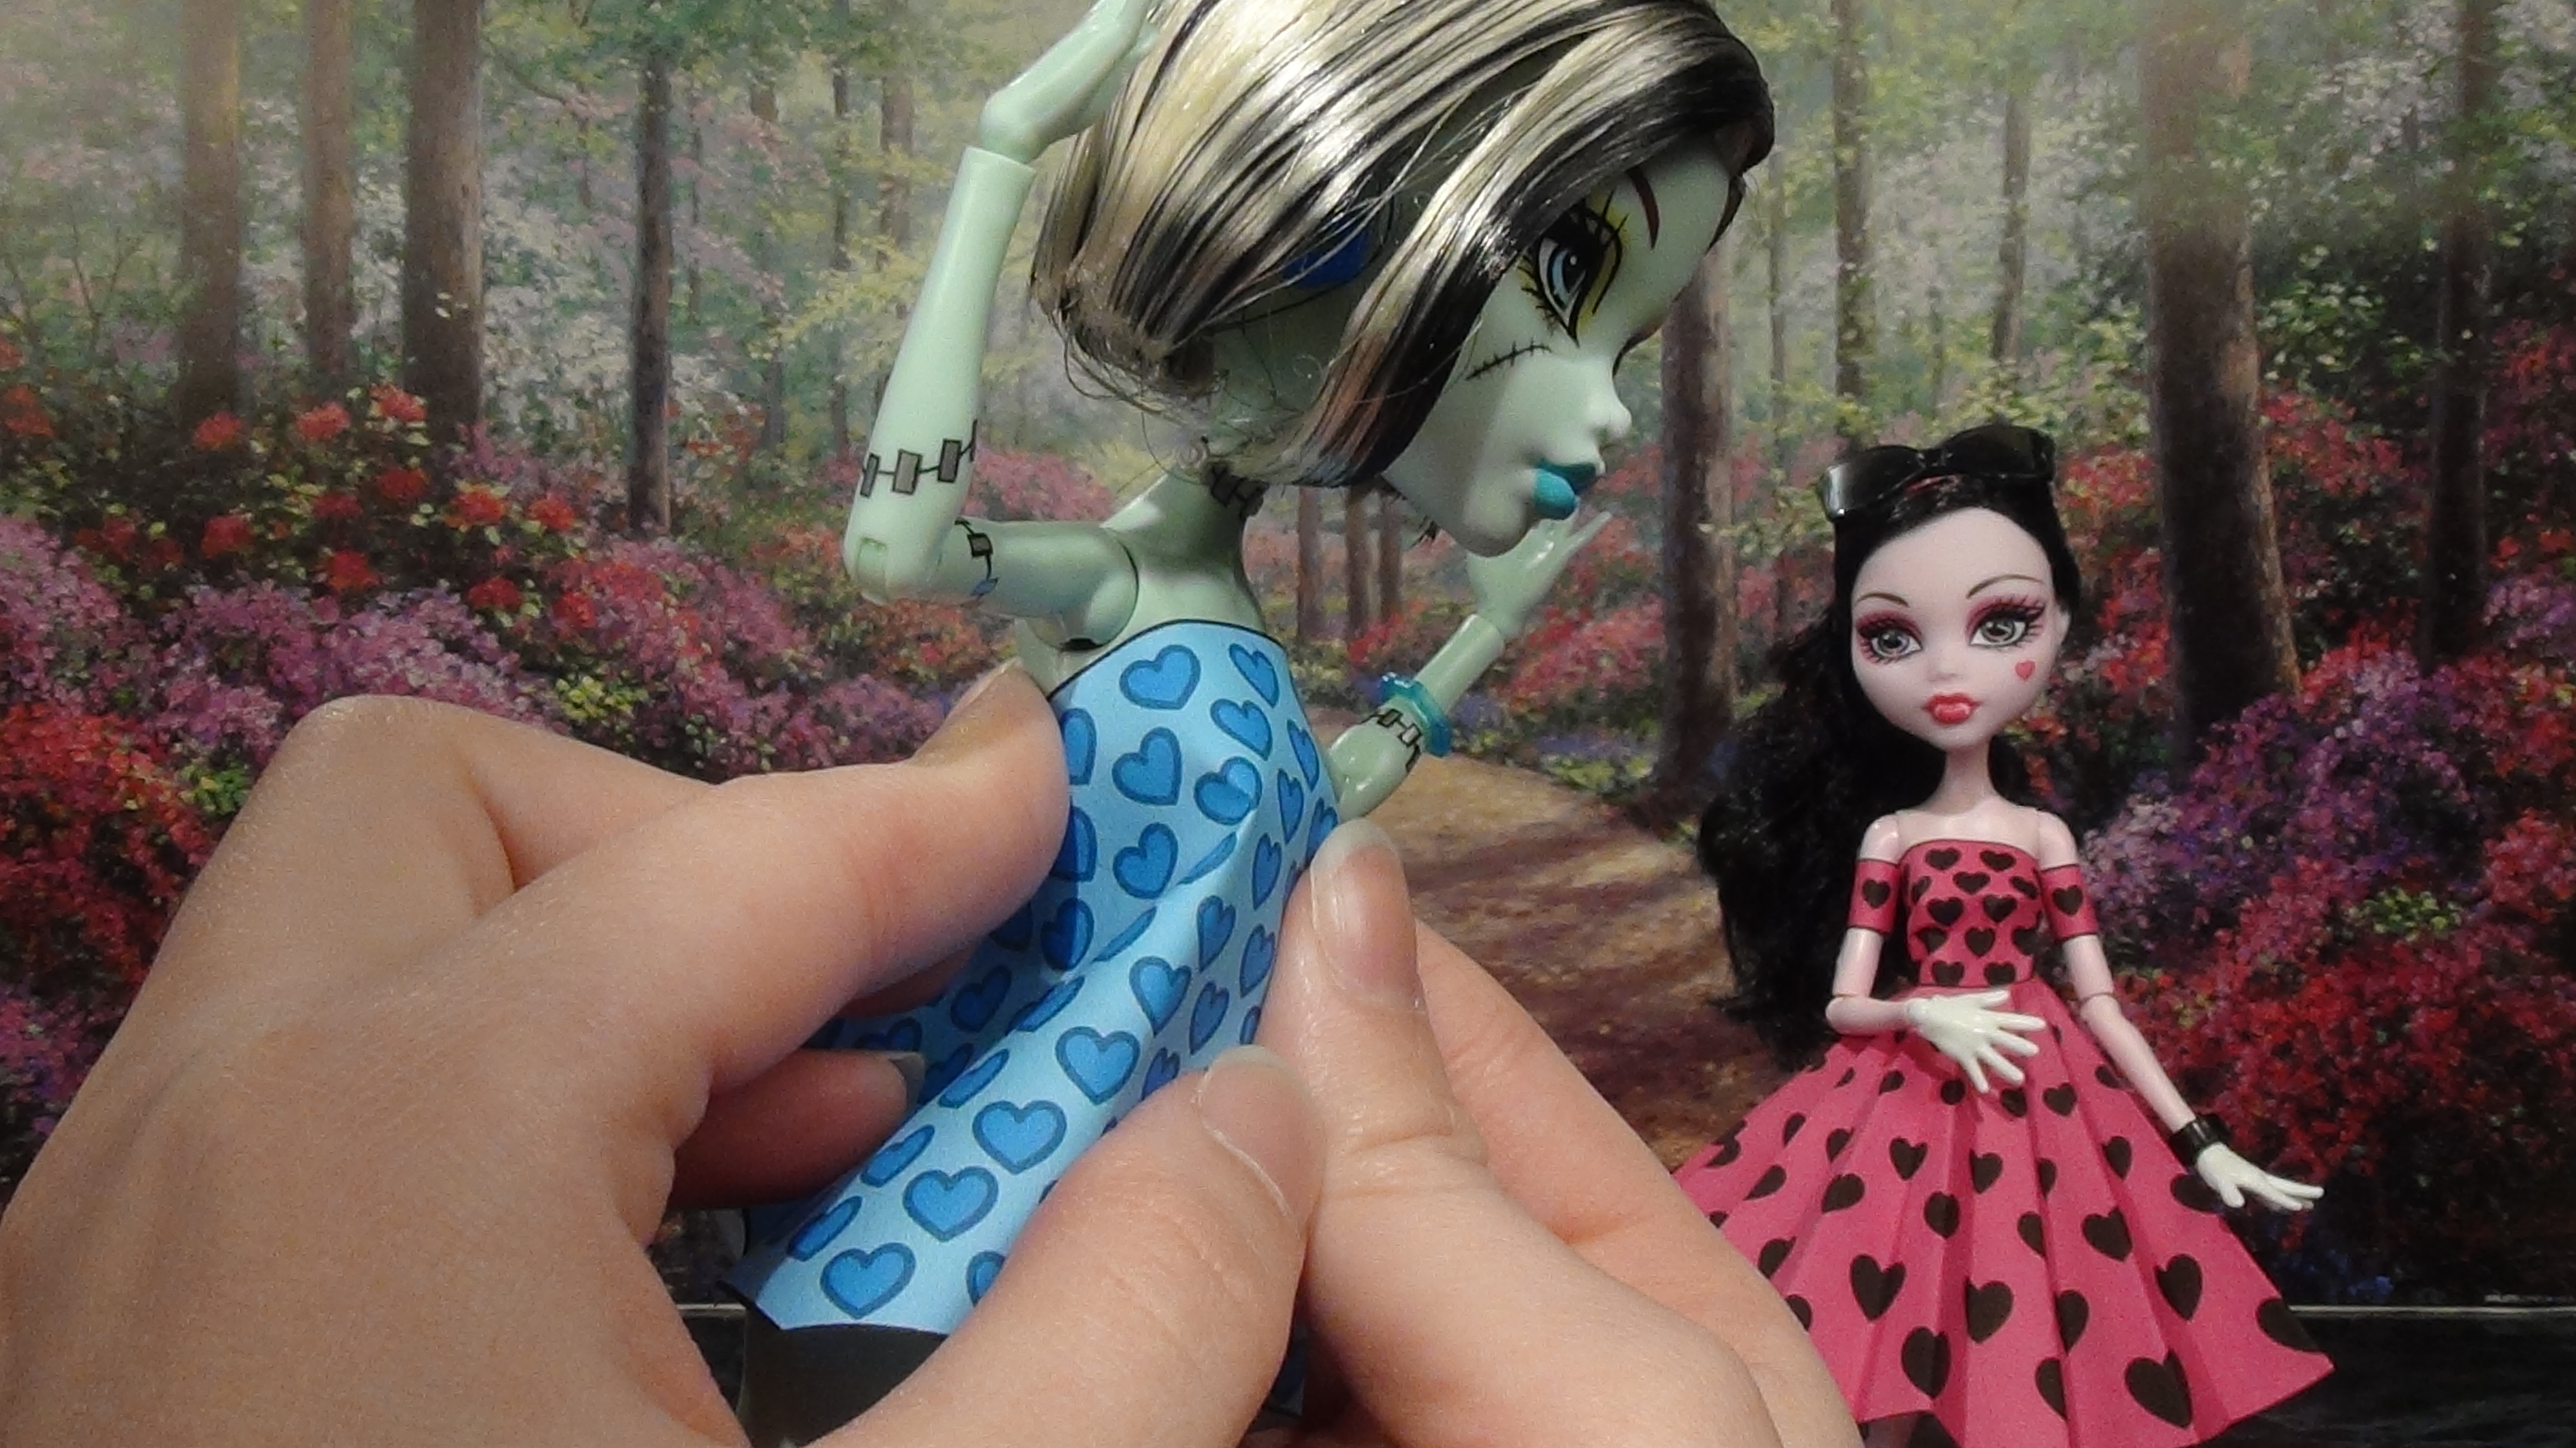
Keep holding the top snuggly in place with your pointer fingers on both sides and use your thumbs to smooth down the front of the top that is sticking out until it is flat at the waist. On the sides of the doll a triangle shape should be forming.

Wrap the sides that are sticking out around the dolls body towards the back. It is very important for everything to be snug. If your doll is shorter and the top reaches below her waist line, pinch with your fingers around her waist to get the fit right. If the doll is very thin you’ll need to press down the extra overlap in the back.
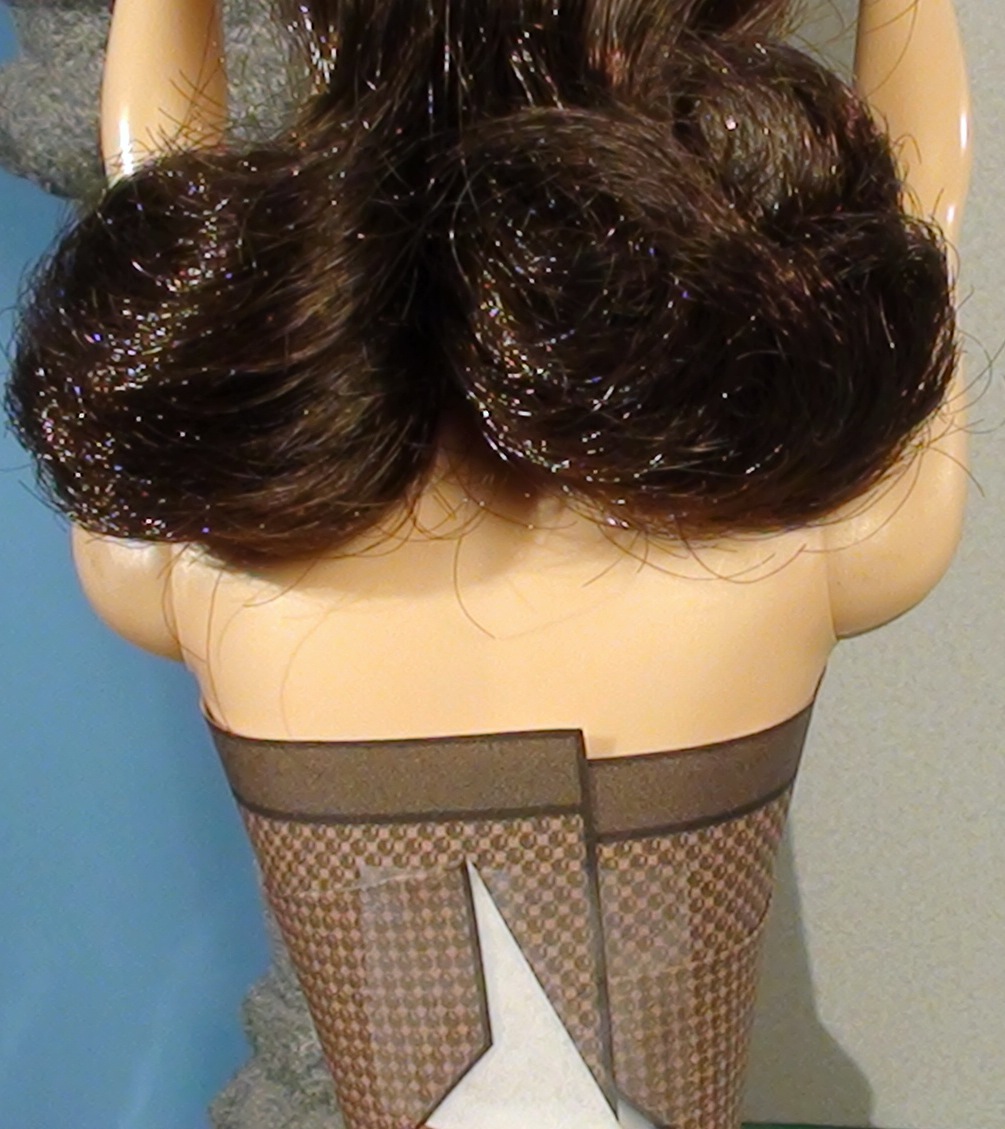
Overlap the edges in the back and tape in place. If any of the side pieces are still loose tape them in place with additional tape.

For thinner dolls with shorter torsos like Monster High and Ever After High you’ll want smooth with your fingers around the waist of the doll starting at the front waist of the doll and pinch around to the back of the doll to give definition to the waist.
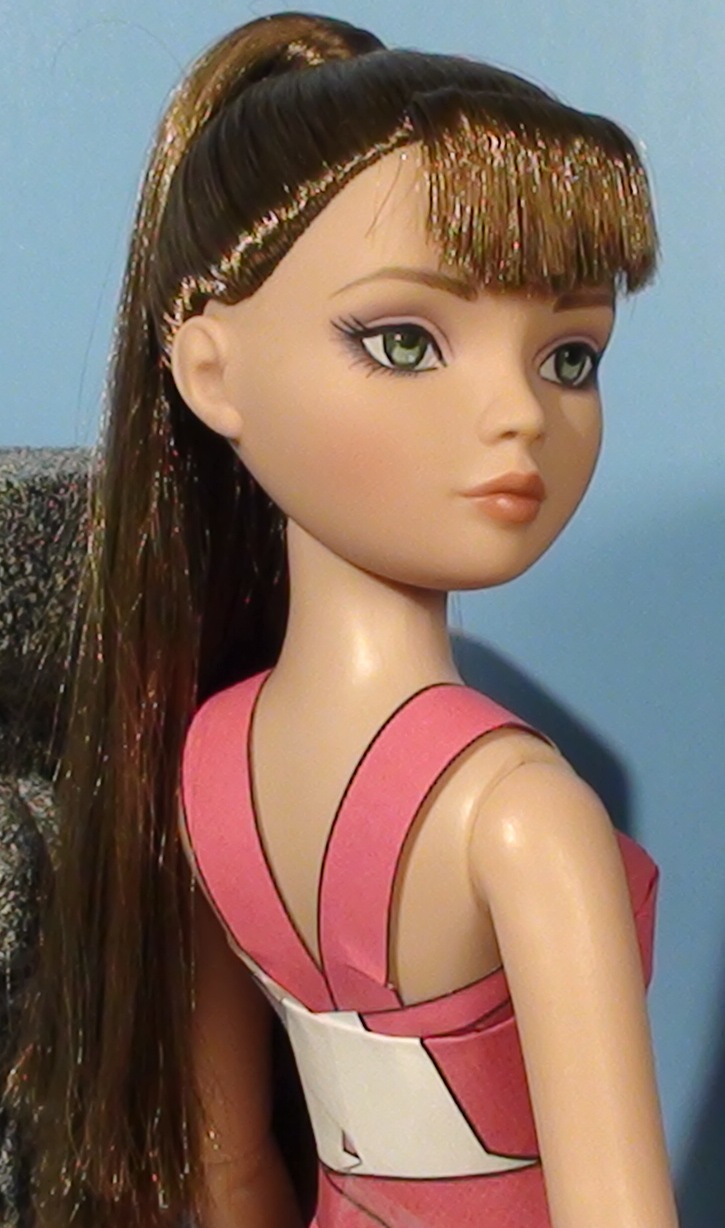
Depending on which doll you use the top can turn out a little differently in the angles of fold etc.
If the doll is too wide for the edges of the top to overlap you can either add in a piece of paper to bridge the gap and tape in place or when cutting out the top, cut out along the top of the top only and leave extra space around the sides, and if the doll is tall, the bottom of the top, to make it fit. For wider dolls you can also use two tops, one for the back and one for the front. Check out the individual doll pages for more details.
I highly recommend watching the tutorial videos to see how to make the top.
1 Comment

this is awesome i love it 🙂